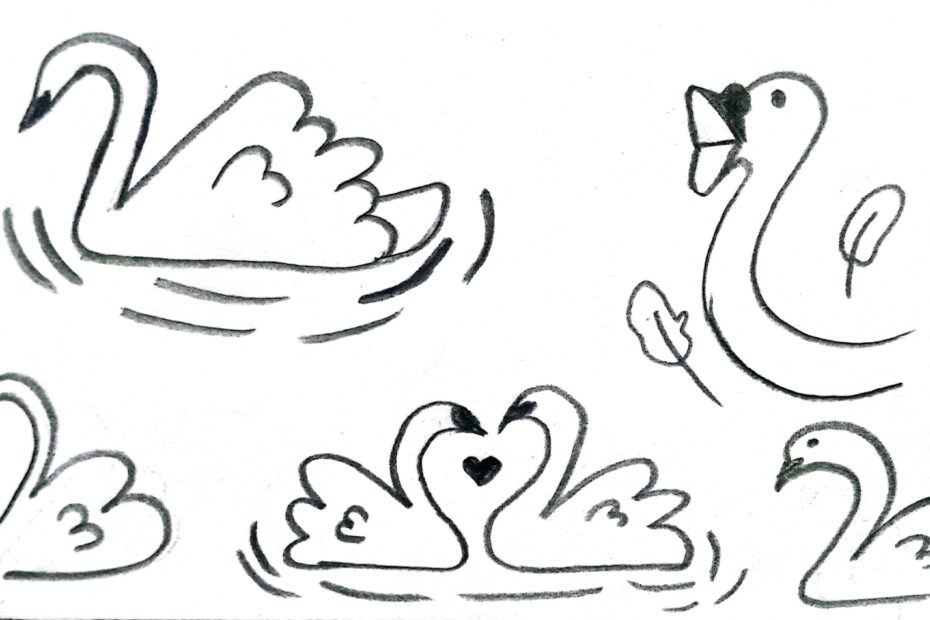
I’m back with another drawing tutorial! Today’s tutorial will guide you through an easy swan drawing step by step.
I’ve loved drawing swans since I was a child. Swans are such a beautiful subject to draw, no matter your age or skill level!
I hope this tutorial helps you master an easy swan drawing, so you can create them whenever you feel like it in the future.
Drawing Tip – Beautiful Swans
Start your sketch with a pencil. When you’re happy with your pencil sketch, go over the lines you like best with an ink pen. When the ink dries, erase the pencil sketch below to reveal your final drawing.
And the best advice of all: Have fun! Don’t worry too much about making it perfect or exactly like mine.
It’s perfectly okay if yours is different!
That’s the beauty of art!
I think the most important goal of art is to enjoy it.
Enjoy the process. And through it, we will find finished pieces that we will also enjoy.
I have also included other ideas for an easy swan drawing at the end of this post. I hope you like them!
Step 1: Draw a “2”
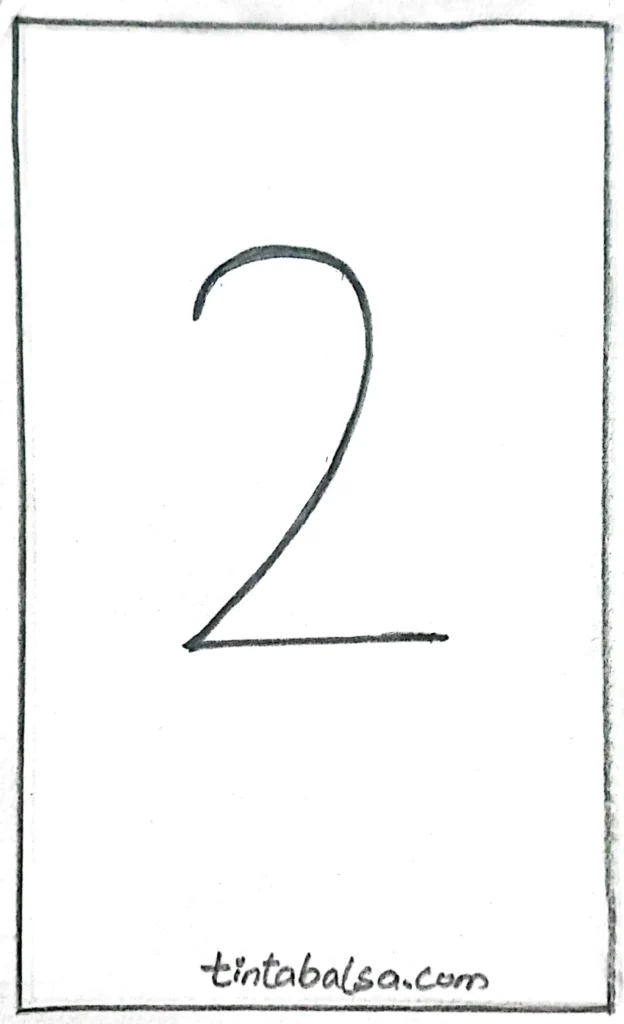
Let’s start by drawing the number 2 with a pencil (we will erase some parts at the end, so it’s better to use a pencil for this step).
This will be the general shape of your swan! See?
>> Draw Cool Drawings that Will enhance Your Creativity
Step 2: Draw the Beak and Neck
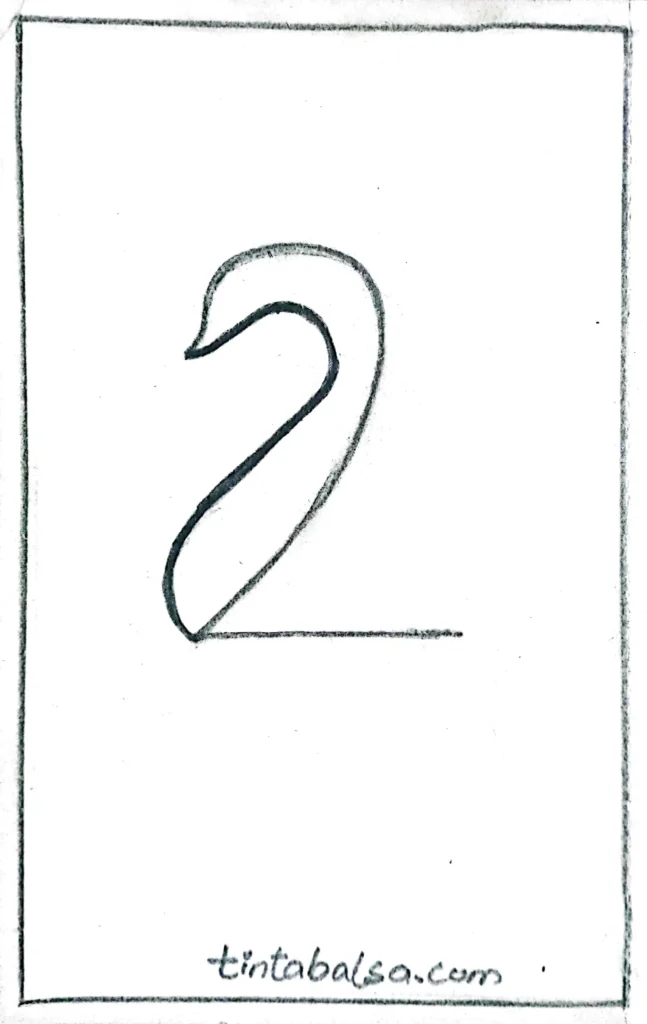
Next, draw the head and neck of your swan as shown below.
Extend a peak shape from the top of the “2.” Then, draw a curved line along the slanted part of the “2.”
>> Bring childhood memories to life with easy Goku drawings for Dragon Ball fans.
Step 3: Draw a Wing
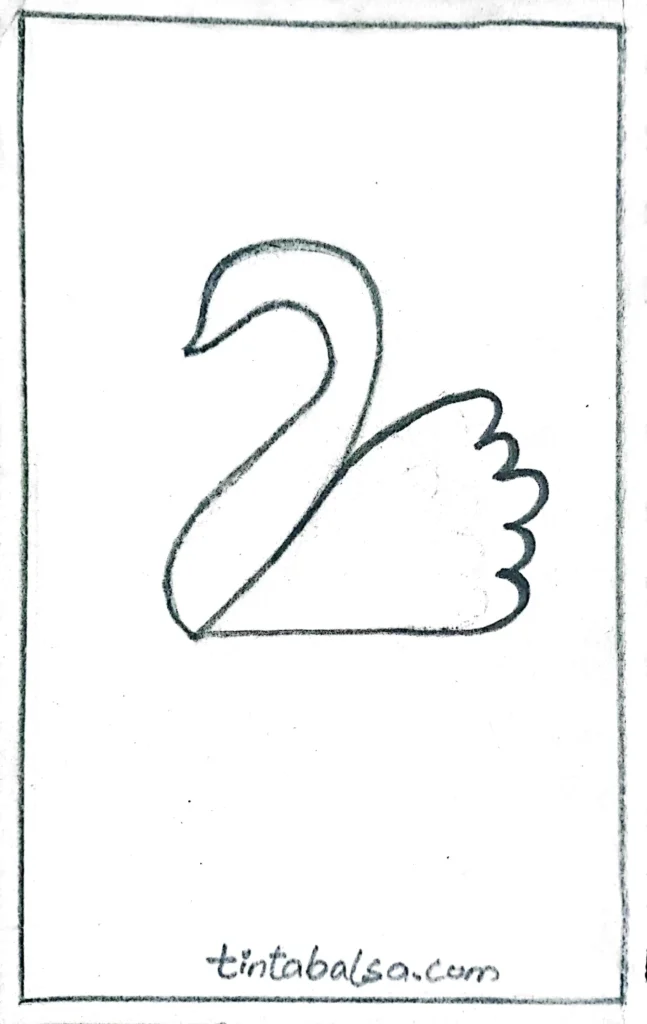
Now, draw your swan’s wing.
Extend from about 2/3 of the neck down and draw the curves of the feathers as shown below.
For the last feather, connect it to the end of the “2” we drew in step 1.
>> Creative Tree Drawing Ideas to draw easily.
Step 4: Draw the Tail
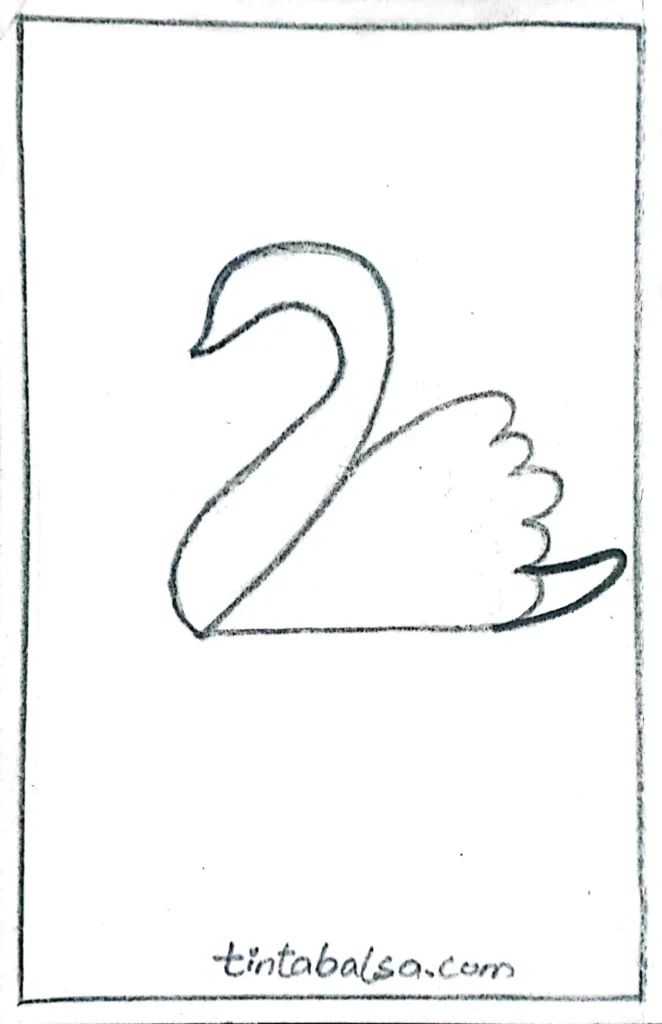
Let’s draw our swan’s tail!
Use short, curved lines to simulate the tail feathers, giving a natural feel to the design.
>> Easy and Cute Cat Drawing Ideas To Draw
Step 5: Draw the Other Wing
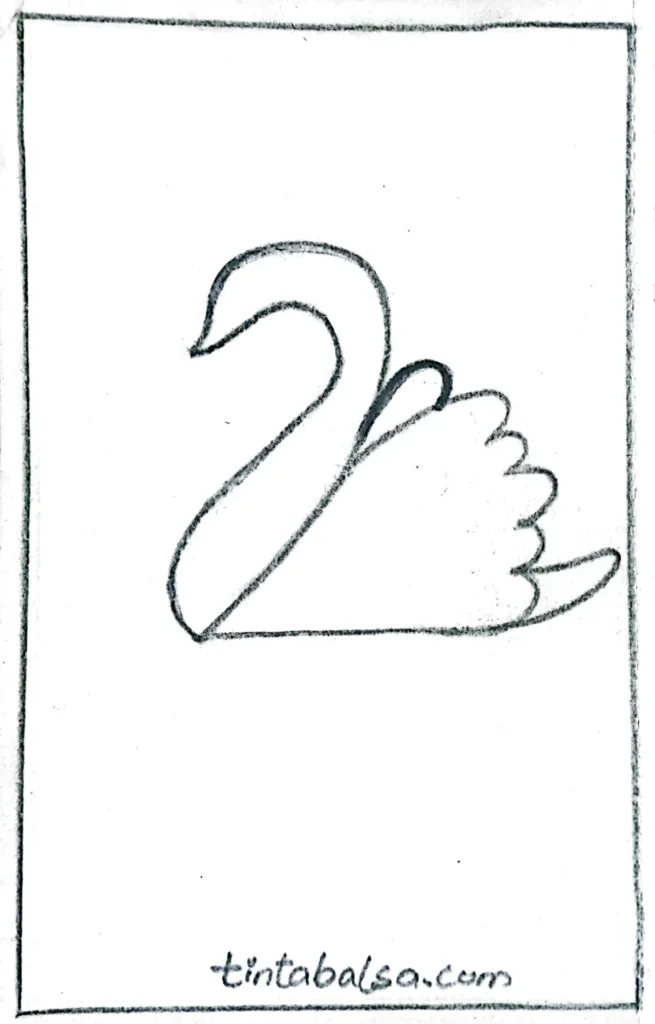
This step is straightforward!
Draw the other wing as shown below to balance the composition.
>> Easy and adorable dinosaur drawing ideas to draw.
Step 6: Erase
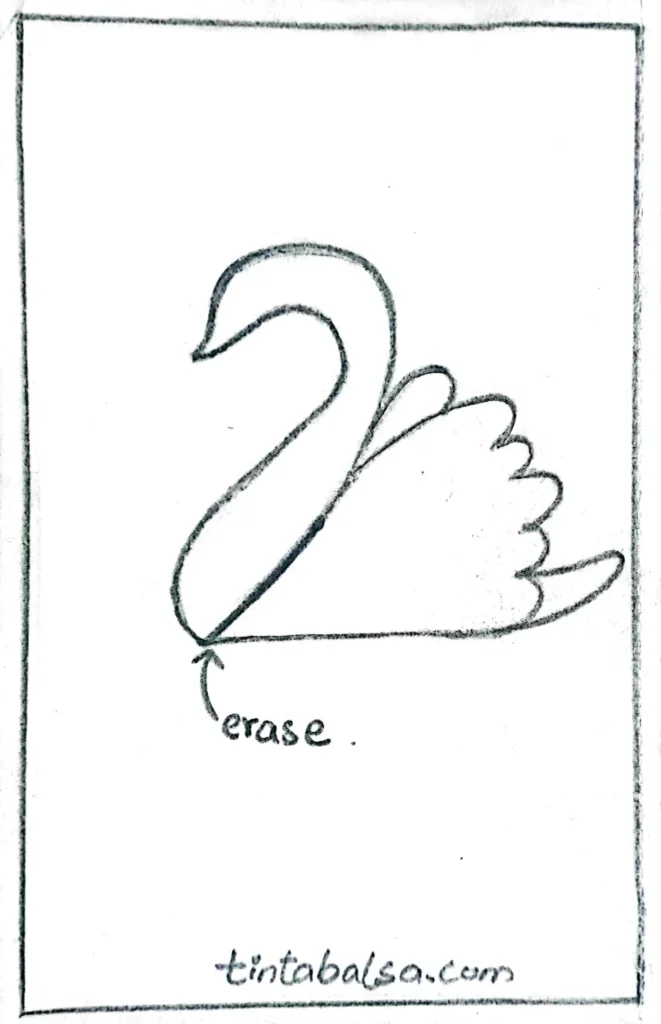
Erase a small part of the line we drew in step 1 of the swan drawing to clean up your drawing.
This ensures that your final strokes are clear and organised, preparing your drawing for the final details.
>> Polish your creativity by drawing quick & easy duck drawings.
Step 7: Add the Final Details
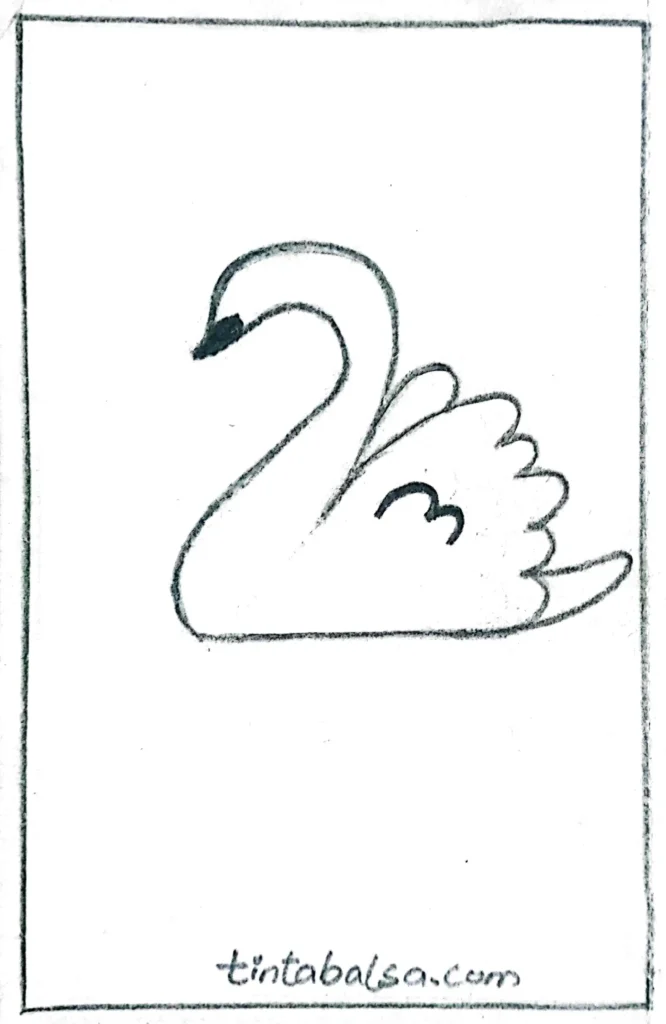
Draw a black beak and some feathers on the wing.
If you want, add other details, such as swan eyes, ripples in the water, extra feathers, or anything else you like.
>> Draw Snowflake Drawings in Winters Very Easy Steps.
The Final Drawing of the Swan!
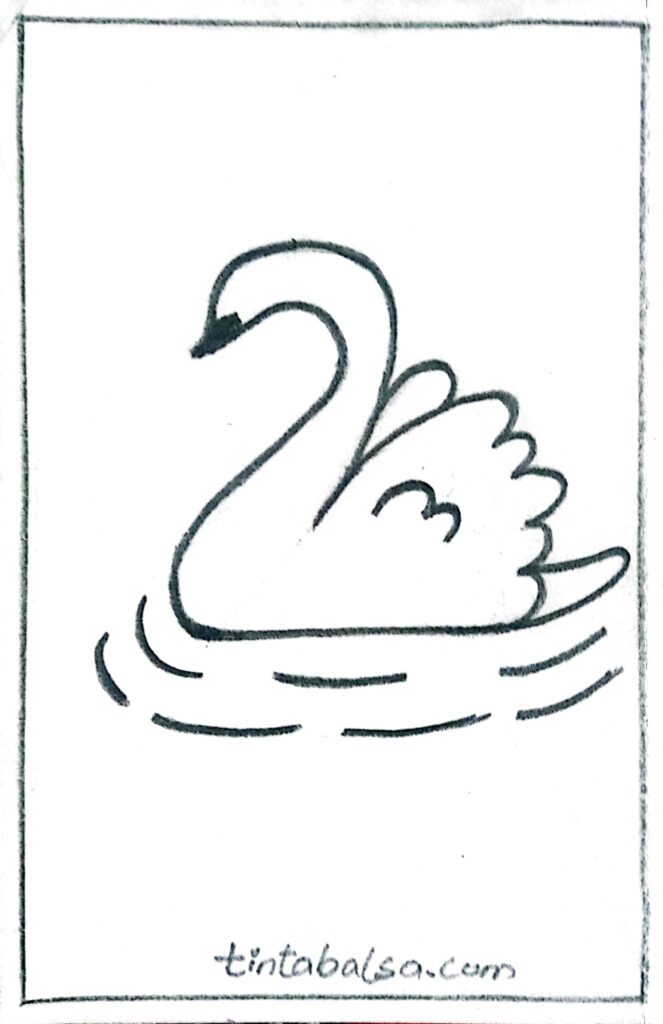
Here is the final result of your easy swan drawing!
Admire the finished piece with all the details added, showing the effort and creativity in every stroke.
>> Make Spooky & Scary Halloween Drawings easily.
I love how it turned out! I hope you enjoyed drawing it too!
Conclusion
And that’s it! Creating an easy swan drawing can be simple and fun if you follow these steps.
I hope this tutorial inspires you to continue creating and enjoying art. Let your imagination run wild and add your special touch to the drawing!
Frequently Asked Questions about “Easy Swan Drawing”
How can I start drawing a swan if I am a beginner?
To start, use a pencil and draw a basic shape like the number 2, which will serve as the base for the swan’s body. Then, add the neck, beak, and wings in simple steps. If you need help, follow a step-by-step tutorial, such as the one we offer in our easy swan drawing guide.
What materials do I need to draw a swan?
Basic materials include a pencil, paper, an eraser, and a black pen or marker for finishing touches. Optionally, you can use coloured pencils or watercolours to add colour to your easy swan drawing.
How can I improve my swan drawings?
Practice is key. Follow step-by-step guides, look at photos of real swans to study their shape and proportions, and experiment with different styles. Also, don’t be afraid to make mistakes; art improves with constant practice.
Why is it useful to start with a pencil sketch?
Drawing in pencil allows you to easily correct mistakes before making the final strokes with ink or colour. This gives you flexibility and helps you achieve a cleaner, more detailed easy swan drawing.
How long does it take to learn to draw a swan?
It depends on your level of experience. A beginner can complete a basic easy swan drawing in less than an hour by following a tutorial. With practice, you’ll be able to do it faster and more accurately.
Is drawing a swan suitable for children?
Yes, swan drawings are great for kids because they are simple and easy to follow. Using basic shapes like circles and curved lines makes them accessible even for beginners.
How can I make my swan drawing more realistic?
For a realistic look, add details like feathers, shadows, and reflections in the water. Look at real photos of swans for inspiration and try to replicate the small nuances of their shape and texture.
What do I do if I make a mistake in the drawing?
Don’t worry, mistakes are part of the process. Use an eraser to correct them if you’re working in pencil. If you’re using ink, try to incorporate the mistake into the design or start a new version, learning from the experience.
Are there additional tutorials for drawing swans?
Yes, we offer a variety of tutorials covering different styles of swans, from cartoonish to realistic versions. Check out our guides to explore ideas and improve your easy swan drawing skills.
Is drawing swans only for advanced artists?
No, drawing swans is an activity that anyone can enjoy. With easy guidelines and some practice, both beginners and advanced artists can create beautiful drawings.
How can I colour my swan drawing?
You can use coloured pencils, markers, or watercolours. For a realistic effect, mix white and grey tones for the body and use black or orange for the beak. If you prefer a more creative look, experiment with bright, contrasting colours in your easy swan drawing.
